

Stretching ‘Za Dough
/By Tilly Troelstrup
For more information on building your own Pizza Oven, check out our past article with an image gallery of the process...
Building Your Own Pizza Oven
Time lapse of Tilly prepping the Pizza Dough.

Instructions:
Shape the dough into a ball: After preparing the dough shape them into a ball. For oblong pizza shapes you still start with a ball. Place the dough balls in an oiled tray or bowl and cover. Let sit in refrigerator for at least 30 minutes; the longer the better, so overnight if you can! Dough made with tepid water takes longer to rise.
If you do it right the dough will double, sometimes triple, in size. You want a cold dough, stretched quickly to go right into the hot oven.
Stretching pizza dough:
*too sticky? add flour and wait
*too hard? wait or start over and wait
*when in doubt- wait
Establish a crust: Create a mote around the outskirt of the dough ball by pressing your fingers into the dough, rotating the ball as you go
Press out the center: Using your palm, evenly press from the center out rotating the dough as you do so. Pop air bubbles with a swift slap right to the bubble. If the bubble is on the crust you may leave it, but know it will expand and possibly burst, so bubbles on the body of the pizza must be popped before cooking!
See the ‘Za! Continue to press the dough out- the initial pizza is there! Next, you must PULL (for oblong pizza’s stretch round first, then shape it). To do this you first gently run your hand just over the dough to check for uneven spots in thickness.
See a hole? No problem! Pull from the closest thicker area of dough and place it over the hole, using your finger to stitch a seam. Can’t fix it? toss and move on!
Stretching: Now you’re ready to pull the dough to really stretch it out to the right size. Place one hand over the center of dough to avoid tearing what is likely the thinnest area of the skin.
Pull the dough with your other hand. To do this imagine you are pulling from the middle of your fingers instead of the tips. This will help to spread out the pressure from your fingers and keep you from poking right through the dough. Also, make sure your fingers are paying mind to the crust- it’s very easy to stretch out the crust completely or smoosh it in your motion.
Simultaneously pulling and rotating the skin to keep it even in the round, Get it stretched to about 90% of your pizza tray. You will do several rotations of the dough before and after it is on the tray.

Remember: It’s better to do a dozen small pulls and turns to coax the dough into stretching instead of less but more aggressive stretches, which can lead to tearing the skin. Be assertive, but not too aggressive.
Grease up your tray: Grease up your tray to keep the dough from sticking to it in the oven. You can spray or brush on oil fairly quickly, a little bit does the trick. Gently and quickly lift the dough, placing one hand under it to maintain even thickness and then place on your tray. Continue to stretch and rotate to about 95% of your tray, always maintaining your crust thickness. It’s easy to squish or lose in a pull!
Dressing: Work quickly! Depending on the success of your dough, you don’t have all day. Thin spots in the dough skin will become weaker with the addition of red/white sauce, cheeses and ingredients. Try to work evenly to ensure easy cooking
Wanna toss the dough?
Great! There are two basic methods: Up! OR Side to side!
warning:::: if dough is sticky or wet DO NOT TOSS, only hand stretch::::::warning
That being said…try both! The goal in tossing dough is to treat it like hot coals- you cannot ‘hold’ the dough, ever! It sinks and sags right away, so you must work quickly to keep it even. Give the surface of the dough a good feel before you pick it up to toss; figure out where the thick areas are and utilize these to pick the dough up (this gives you more room for error).
Next, begin to rotate the dough handling it mostly by just inside the crust. The center will stretch naturally with all the movement, so you’ll want to avoid touching it since it is again likely the thinnest point on the dough skin.
For the UP toss, it only needs 1-3 tosses to be plenty stretched out
For the side to side, you’ll need to toss it a few more times for sufficient stretching.
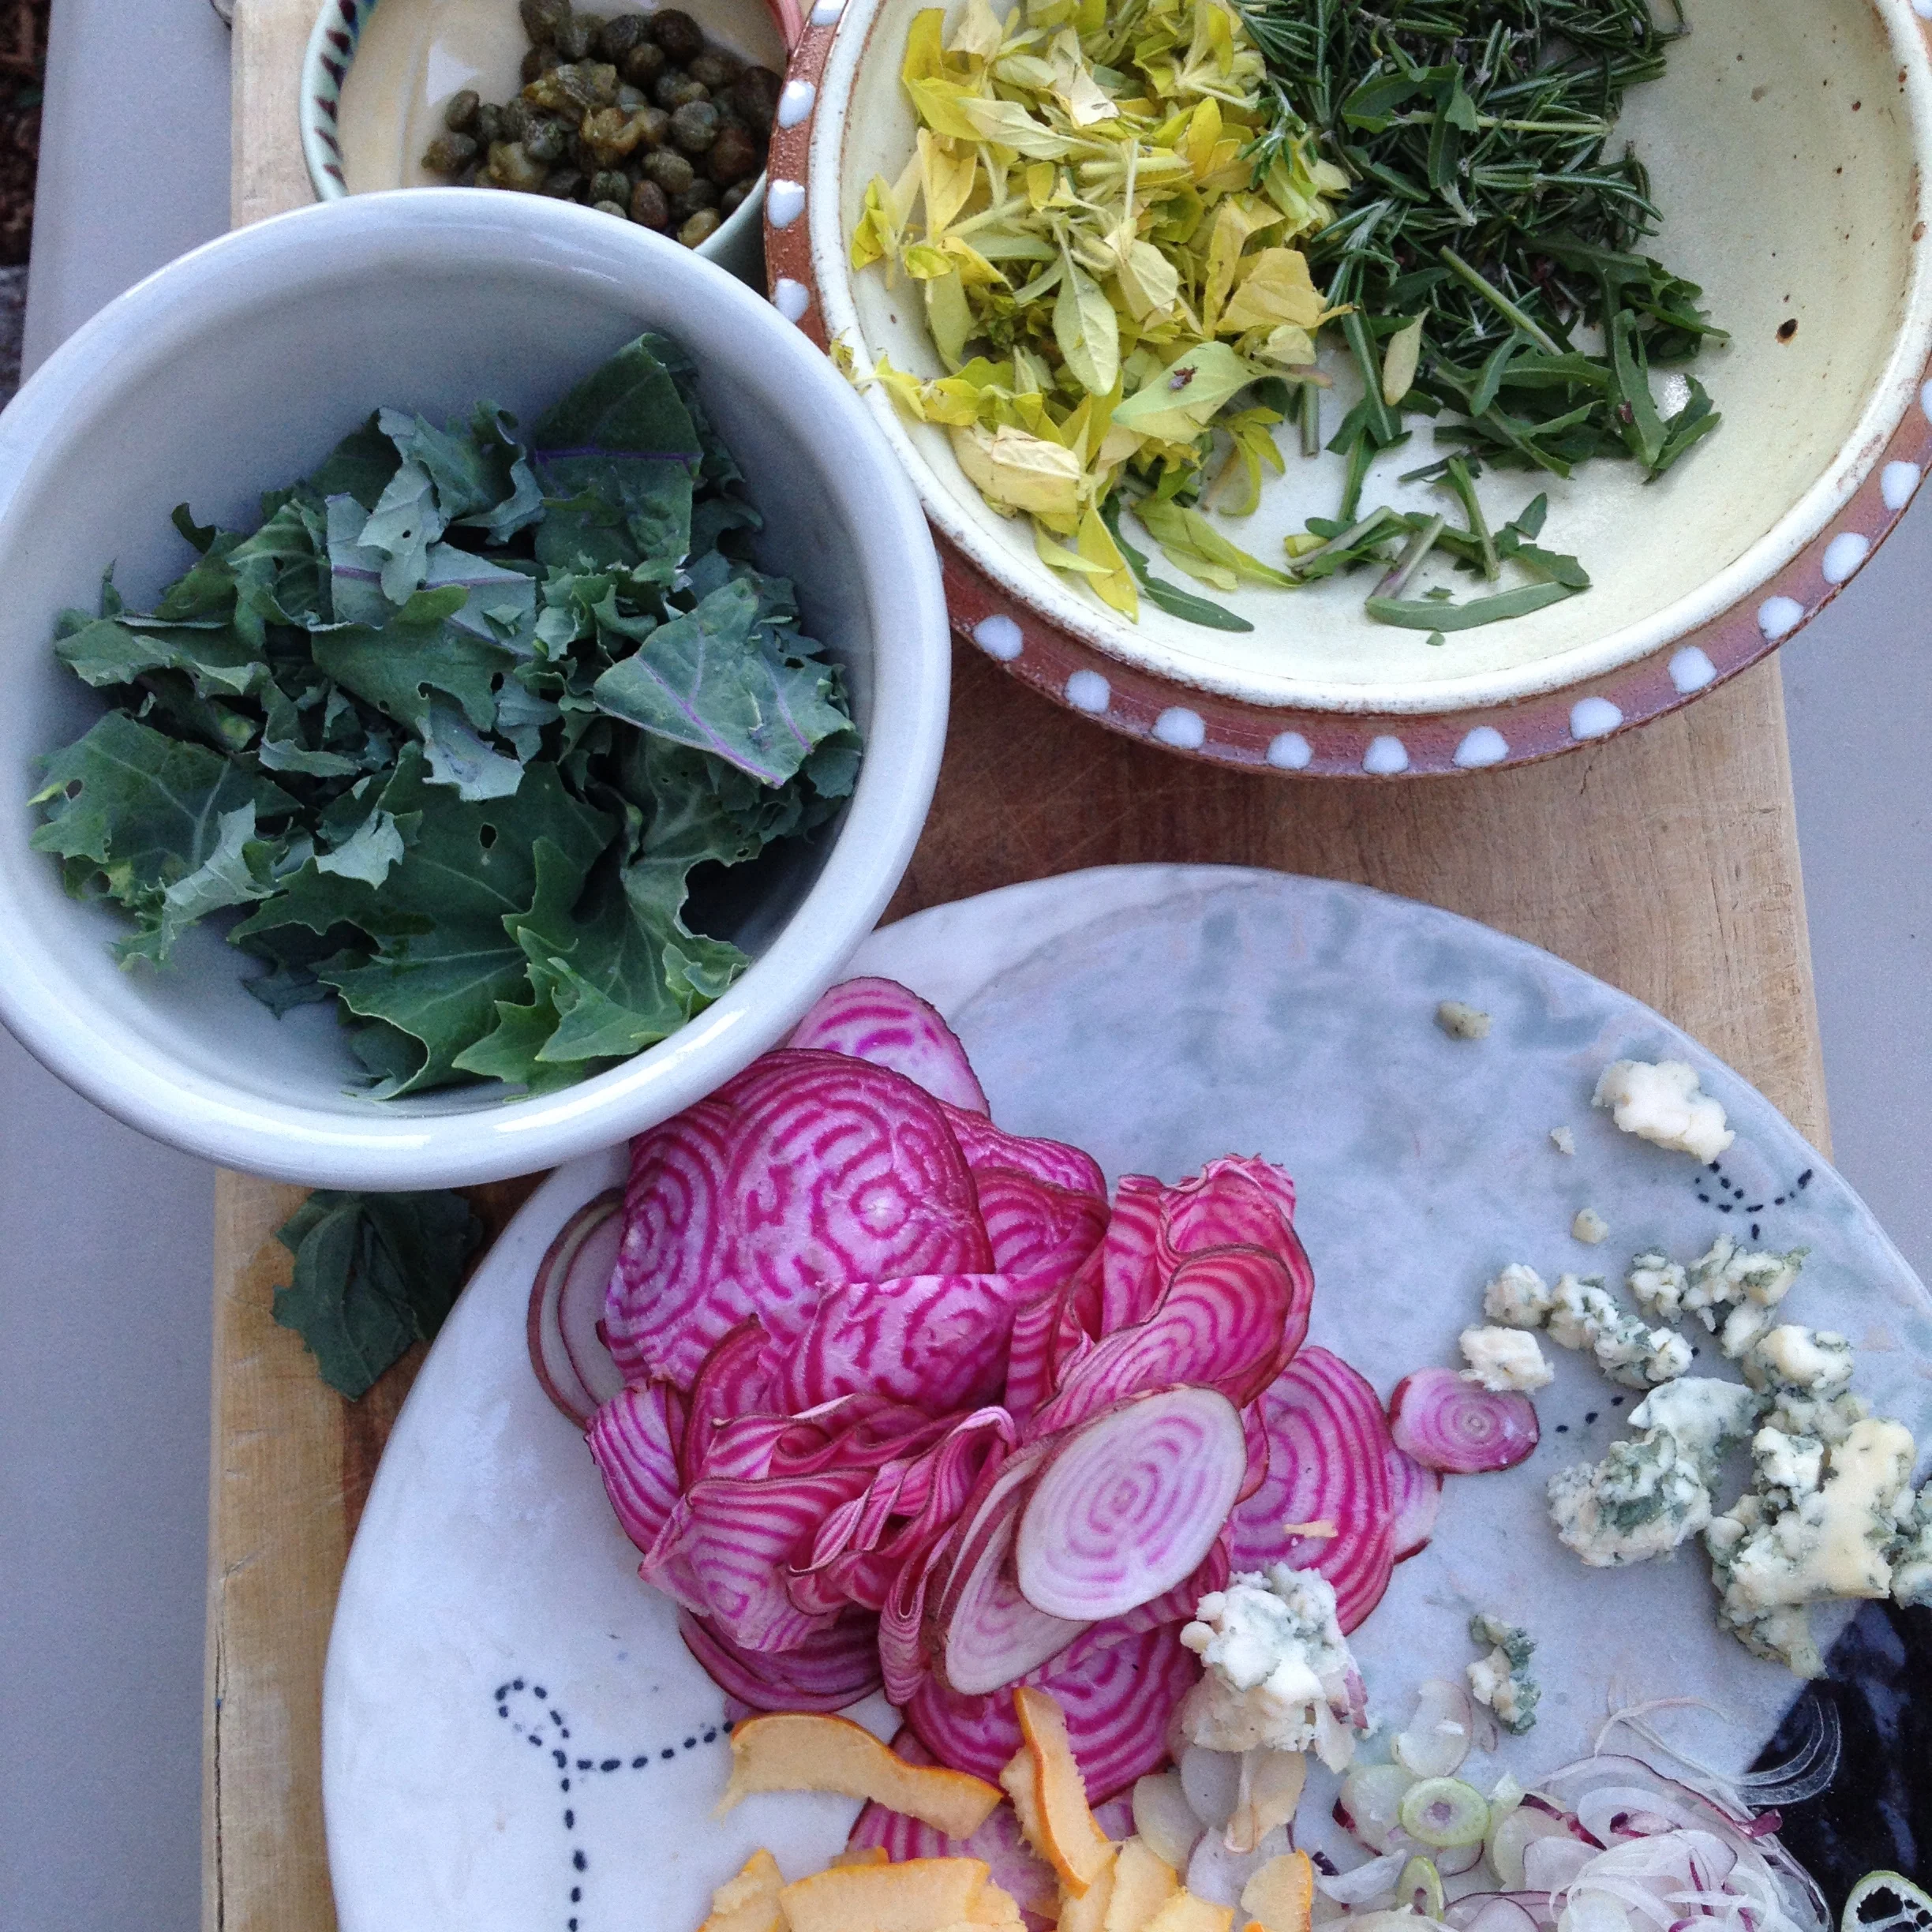
Prepped Toppings

Freshly Topped Pizza
In either method of tossing, you really have to be paying attention to where and what parts of dough and hand are meeting. A thin spot becomes a tear, becomes a hole in fractions of a second! Sometimes these can be hemmed over and sometimes the dough is a goner.

Jake stretching dough.
Enjoy ‘Za Hand-Stretched Dough!
For more information on making dough, one of the studio favorite sources is listed below. SeriousEats.com


